Extraction in DOSE: the flare, the ring and the stash
Dose only counts once you get out. Here's how the flare, the 75-second hold, the crew bonus and the stash work, and why one more fight is always a gamble.
Everything you pick up in a run of DOSE is on loan until you leave. The dose you soaked up, the levels it gave you, the rifle you pulled off a raider camp twenty minutes ago: none of it is yours yet. It becomes yours at the beacon, after you light a flare and live through the next minute and a quarter.
This post covers that last part: how extraction works, what the crew bonus does to your rank, and what happens to your stuff when things go wrong. If you haven't read how radiation works yet, it's worth starting there, since dose is the thing you're trying to carry out.
Lighting the flare at the beacon
Every run has a way out. In a Quick Run there's one beacon on the map, and after four minutes a storm wall starts closing the map toward it. On the open-world expedition there are extraction points spread across the regions, and your crew picks which one to head for.
To start extracting, someone walks right up to the beacon (within about three metres) and clicks it. That lights the flare. Chat tells the whole crew it's lit, and from that moment the clock is running.
There's no putting the flare back out. We wanted lighting it to feel like a commitment, so crews often hang around the beacon first, topping up stimpaks and arguing in party chat about one more camp.
Holding the ring for 75 seconds
Once the flare is up, a ring with a 9 metre radius around the beacon becomes the extraction zone, and you have to survive for 75 seconds. The wasteland notices. While the flare burns, husks spawn two and a half times faster than normal, and they keep coming until the timer runs out.
The rule that matters most: when the timer hits zero, only survivors inside the ring get out. If you wandered off to finish a Spitter, you're left behind, and whatever you were carrying is gone along with your dose.
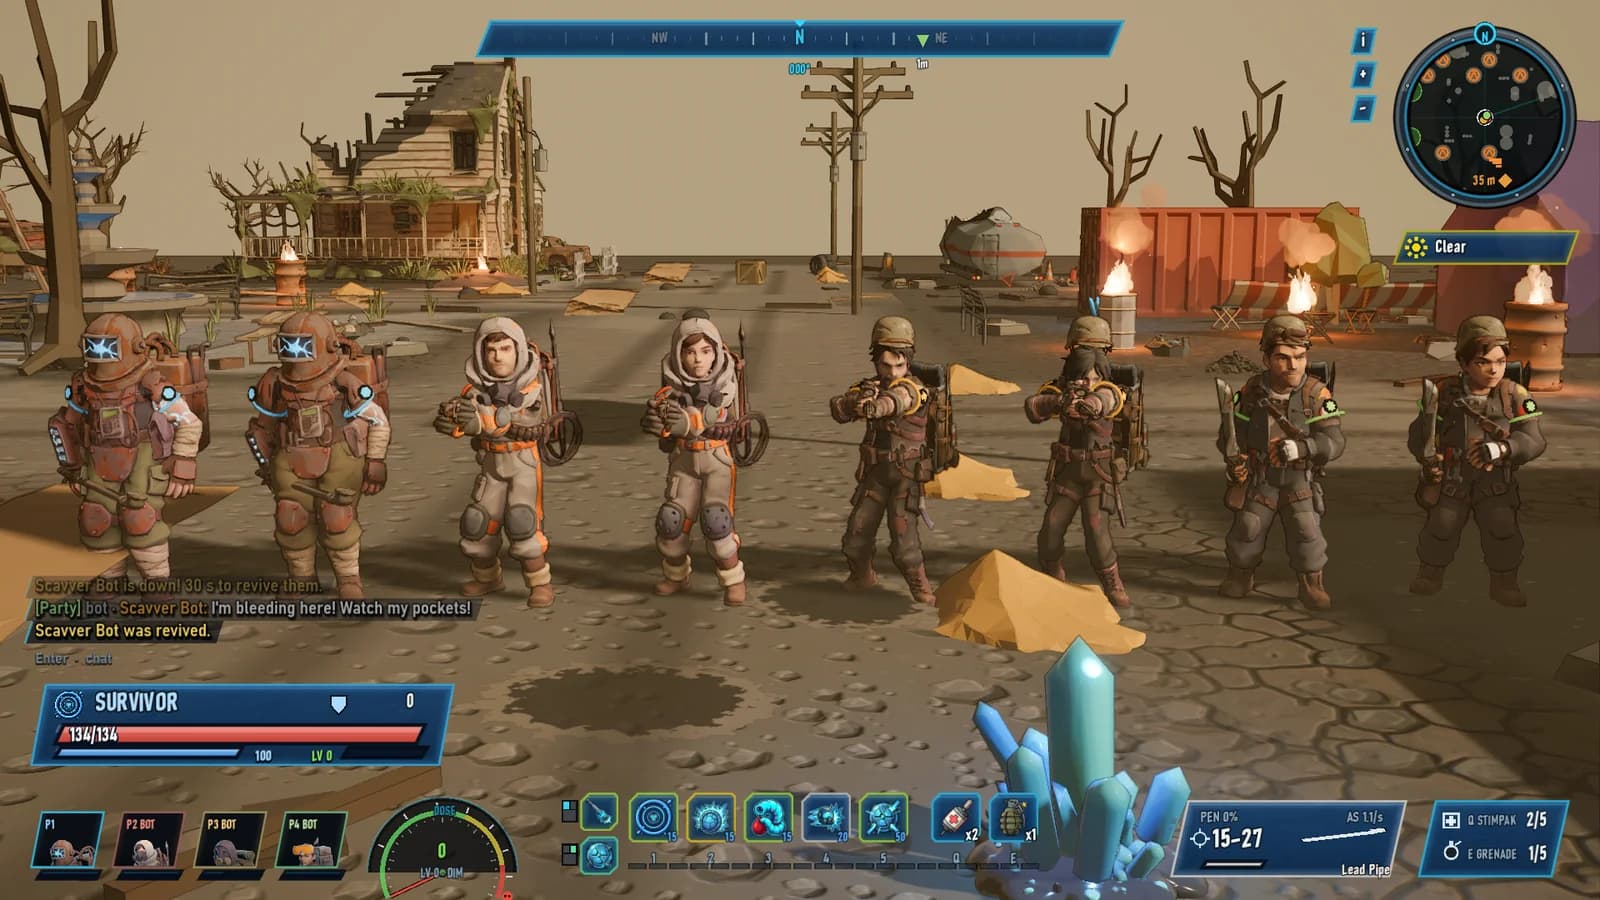
This is where playing together pays off. If a crewmate goes down during the hold, you don't have to leave them. After the flare is lit, a downed survivor close to an active crewmate gets dragged along behind them. Get them to the beacon and they still bank half their dose, and their gear goes home with them. The normal bleed-out still applies, though. A downed survivor has 30 seconds unless someone stays close enough to pause the clock, so a Medic who can revive is worth a lot in that last minute.
Gear can help too. Glow Dampener, one of the Irradiated back items, makes the hold run 10% faster. That sounds small until you're at seven seconds left with a Brute standing in the ring.
When the beacon has a guardian
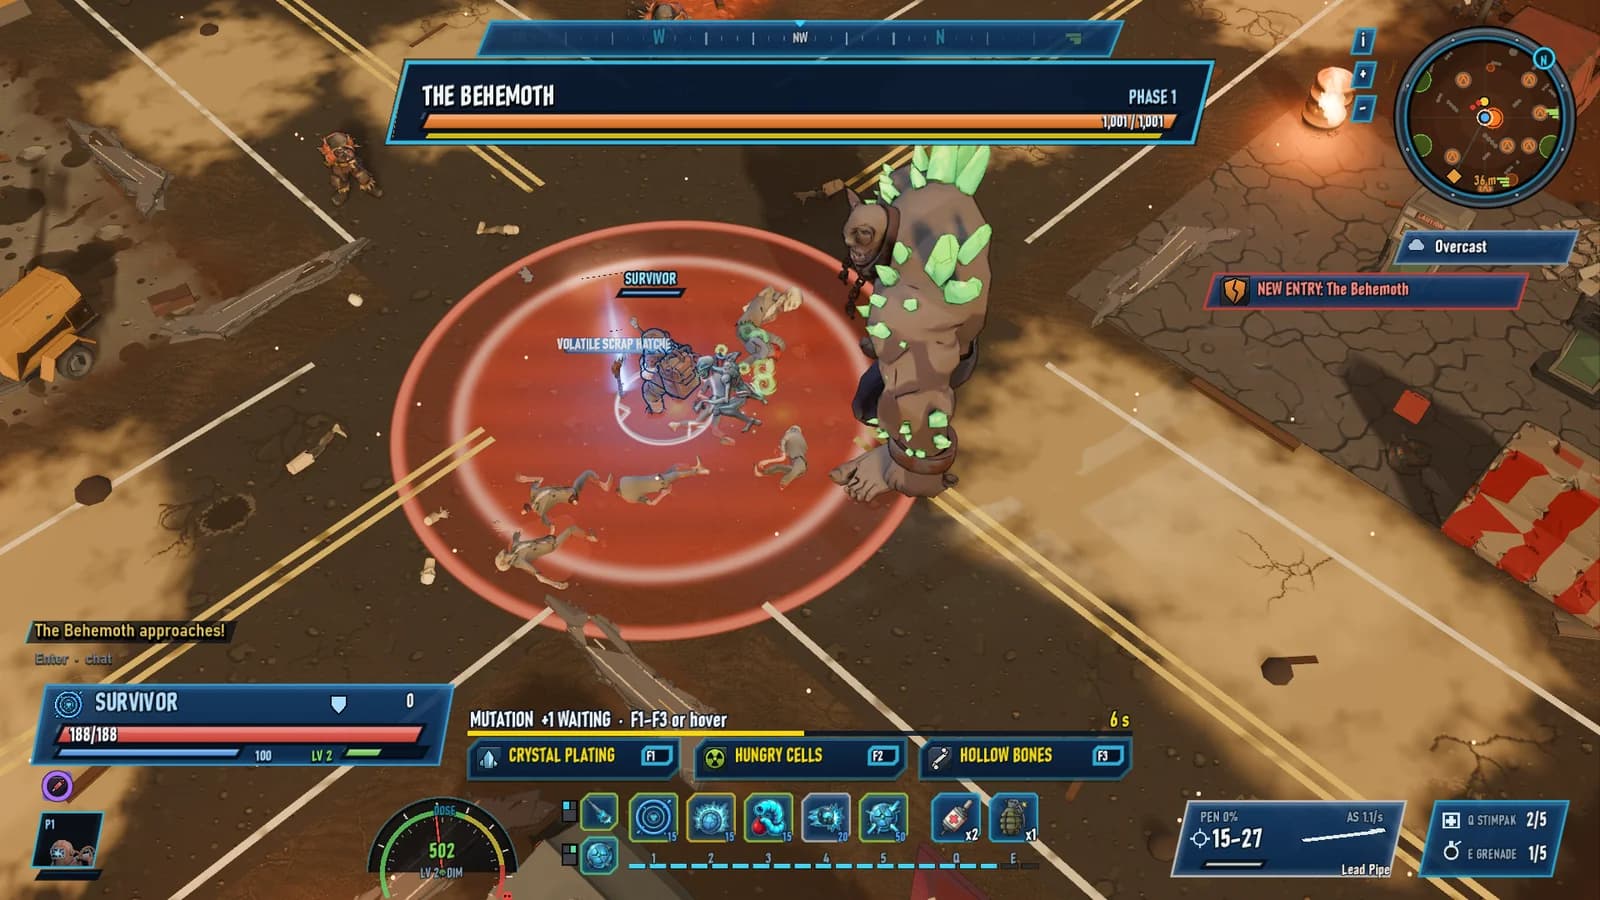
Some beacons don't let you leave quietly. Light the flare at one of those and a guardian wakes up first, an extraction boss like the Behemoth or Junkheart, and the flare only burns once it's dead.
We go into these properly in the boss post, but one rule matters here. Inside the guardian's arena wall, you only gain dose at 10% of the normal rate.
That rule came out of playtesting. Boss fights got longer, every add you killed paid dose to the whole crew, and teams who showed up at a healthy level were burning out in the middle of a fight they couldn't walk away from. Winning could kill you. We picked the fix players can actually see: the wall blocks most of the rads. The dose you walk in with still counts, so arriving too hot is still on you.
Extraction bosses don't drop items. You get a speed grade on the Boss Board, rank points, and the way home.
Banking dose and the crew bonus
When the hold ends, everyone who made it banks their dose into the season ranking. Your banked score is your dose times a crew bonus, and the bonus depends on how many of you are standing in the ring at the end:
- Solo: x1.0
- Two survivors: x1.1
- Three survivors: x1.2
- Four survivors: x1.3
A full crew walking out together gets 30% more for the same dose. That's our nudge to keep people together at the end, instead of one player sprinting to the beacon while the others are still fighting a camp.
Banked dose is the only thing that moves your rank. Gear never does. The ladder goes Clean, then Exposed at 1,000, Hot at 5,000, Ghoul at 15,000 and Reactor at 40,000, with Meltdown kept for the top 1% of the board. Points shrink by 5% a week, so a great run from last month slowly fades unless you keep getting out.
One thing we had to close off was dose transfer. The Medic and the Glowstick both have ways to pass dose to a teammate, and that opened the door to a "dose mule" carrying everyone's rank. Now, if anyone transferred dose during the run, the survivors who walk out all bank the crew average instead.
If the whole crew wipes, the carried dose is gone. You still get a few ranking points for kills, for the level you reached and for any Boss Board points you won that run. A wipe hurts. It just doesn't leave you with nothing.
What you keep and what you lose
Our first concept for DOSE reset everything every match. As the world got bigger and the loot got deeper, that stopped making sense, so we turned it into an extraction loop. Levels, mutations and skill points still reset every expedition. Gear you carry out survives.
When you extract, everything you're carrying goes into your stash at the safe settlement, equipped items and backpack both. The backpack starts at 24 slots and gear can stretch it to 48.
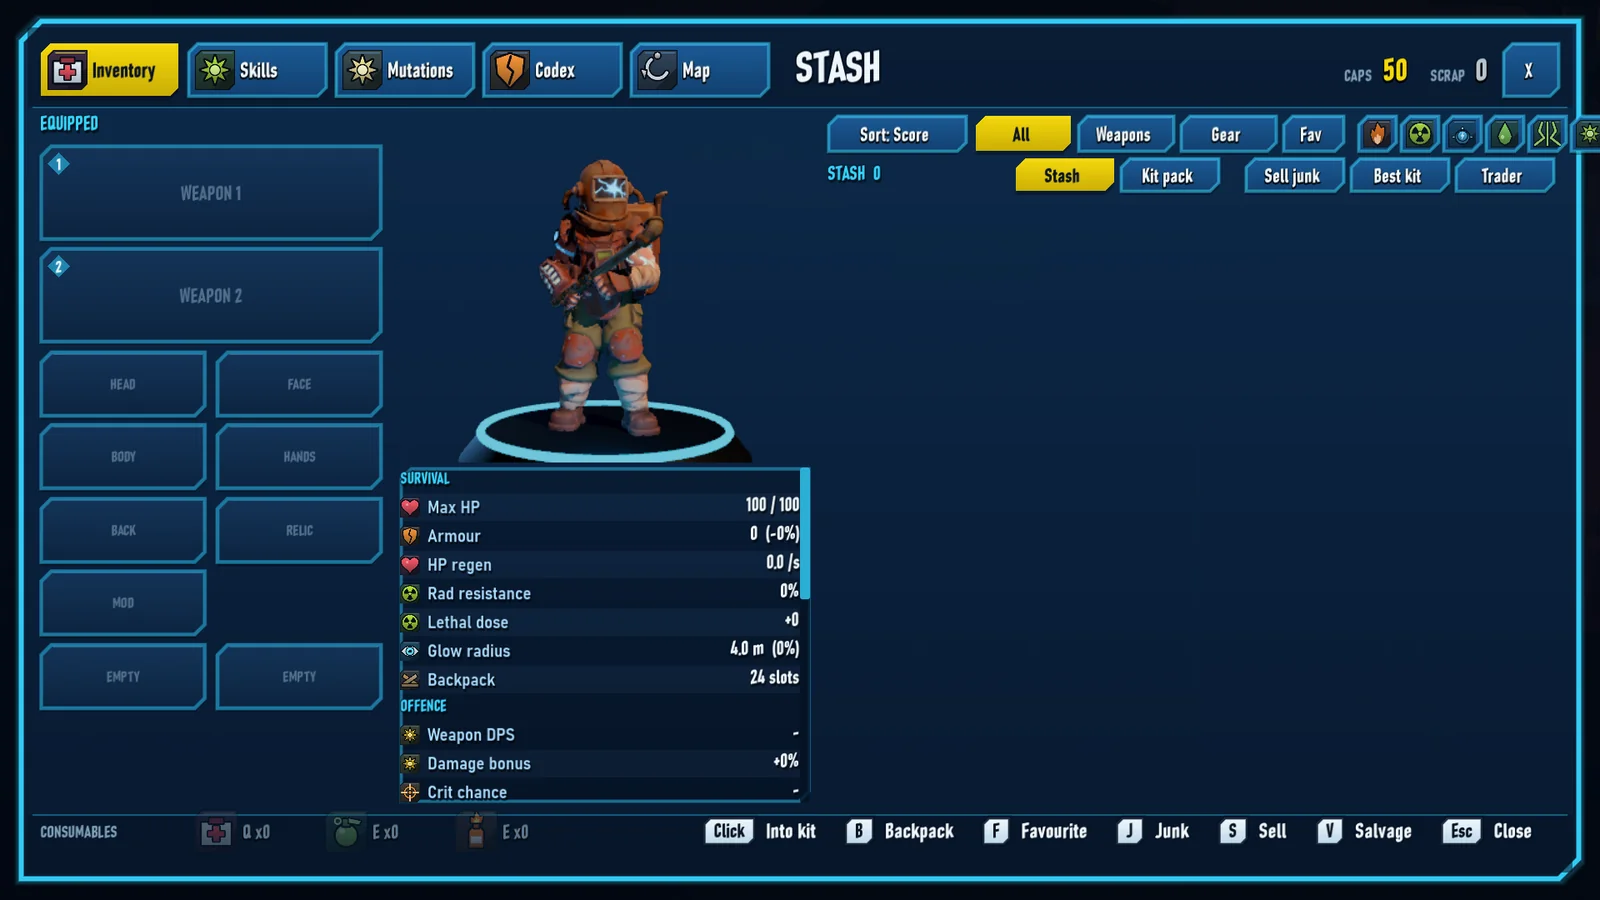
Dying is a different story, and we kept it harsh on purpose. Die without extracting and you lose your equipped gear, your backpack and whatever kit you brought from the stash, plus the run's dose, level and mutations. There's no secure slot and no insurance. Only the stash and the rank you already banked are safe, which is exactly why bringing your best rifle into a run feels like a real decision.
There are two small outs. When you fall, you drop a death bag on the spot that holds up to 40 of your items and stays for 10 minutes. Your crewmates can loot it and carry your stuff out for you, which leads to some awkward talks about who gets the shotgun. A couple of legendaries also act as keepers: Scav's Gamble saves your single best backpack item when you die, and Triage Tag saves your two best. Equipped gear is lost either way.
Loot, rarities and crates
Gear comes in seven rarities: Scrap, Common, Uncommon, Rare, Epic, Legendary and Irradiated. Most of what ordinary monsters drop is Scrap or Common, roughly two drops in three. Rare is around one in eleven and Epic is a couple of percent. Legendaries are named, fixed items with their own mechanics, and bad-luck protection quietly raises your odds the longer you go without one.
Irradiated is the rarest of all. Those items run on radiation, like a rifle that hits harder for every 100 dose you carry, and they're the only gear shown in Cherenkov blue. The base chance is tiny, but it triples in hot zones. That's very much intended: the best loot lives where staying hurts the most.
Anything Uncommon or better pops out with a light beam, so after a fight you can tell at a glance what's worth walking over to. Item power follows the zone it dropped in, which keeps things fair when a veteran joins a friend's first run.
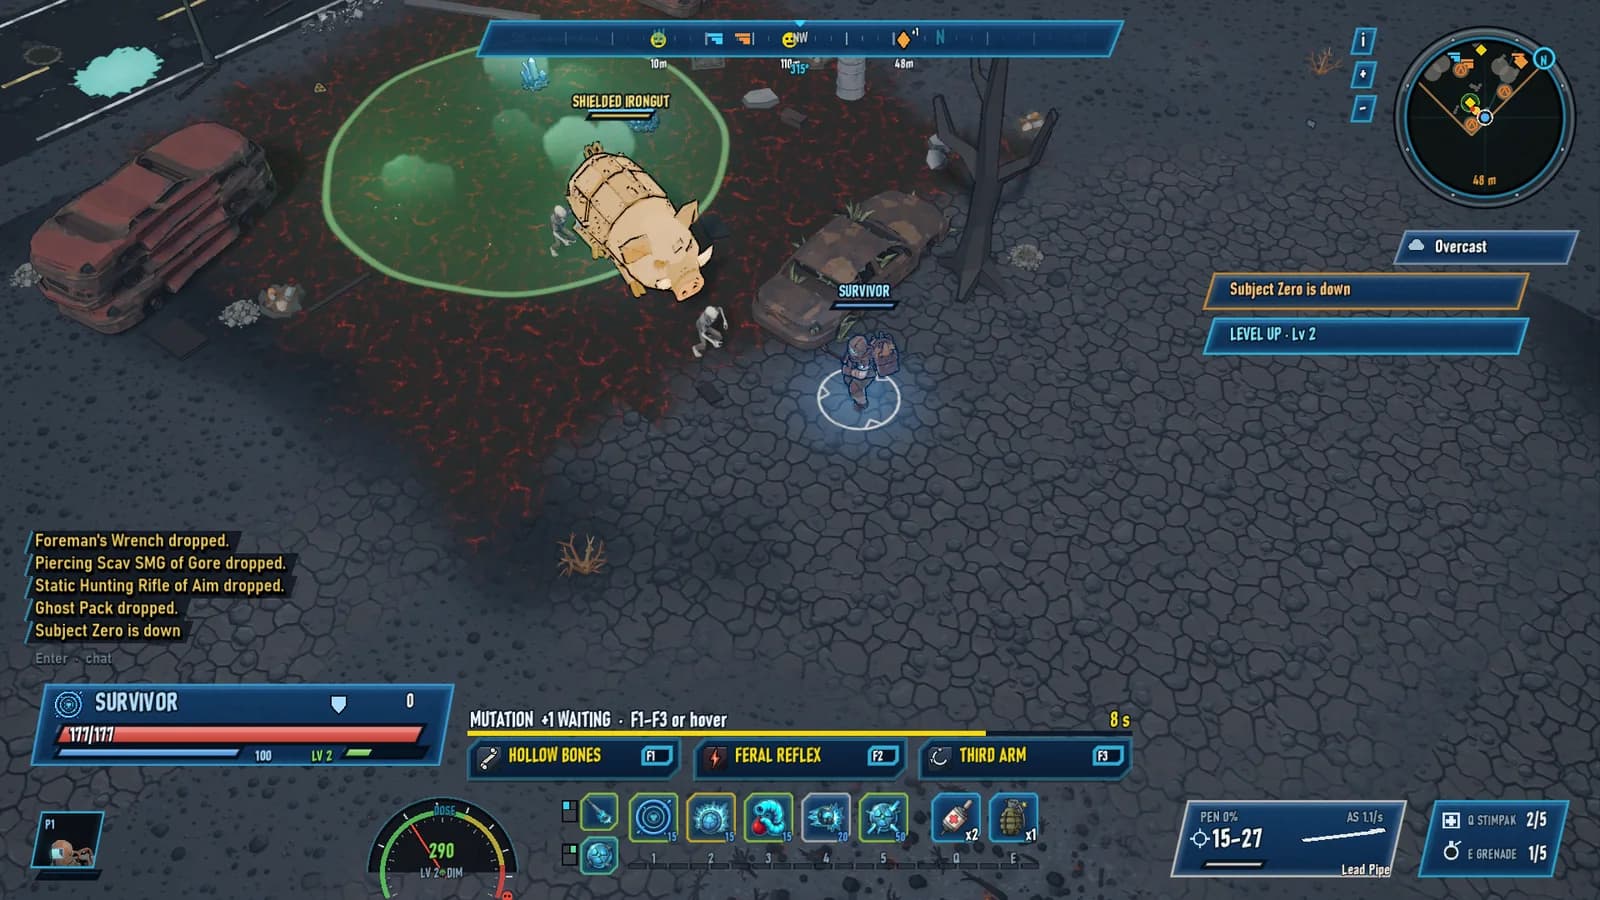
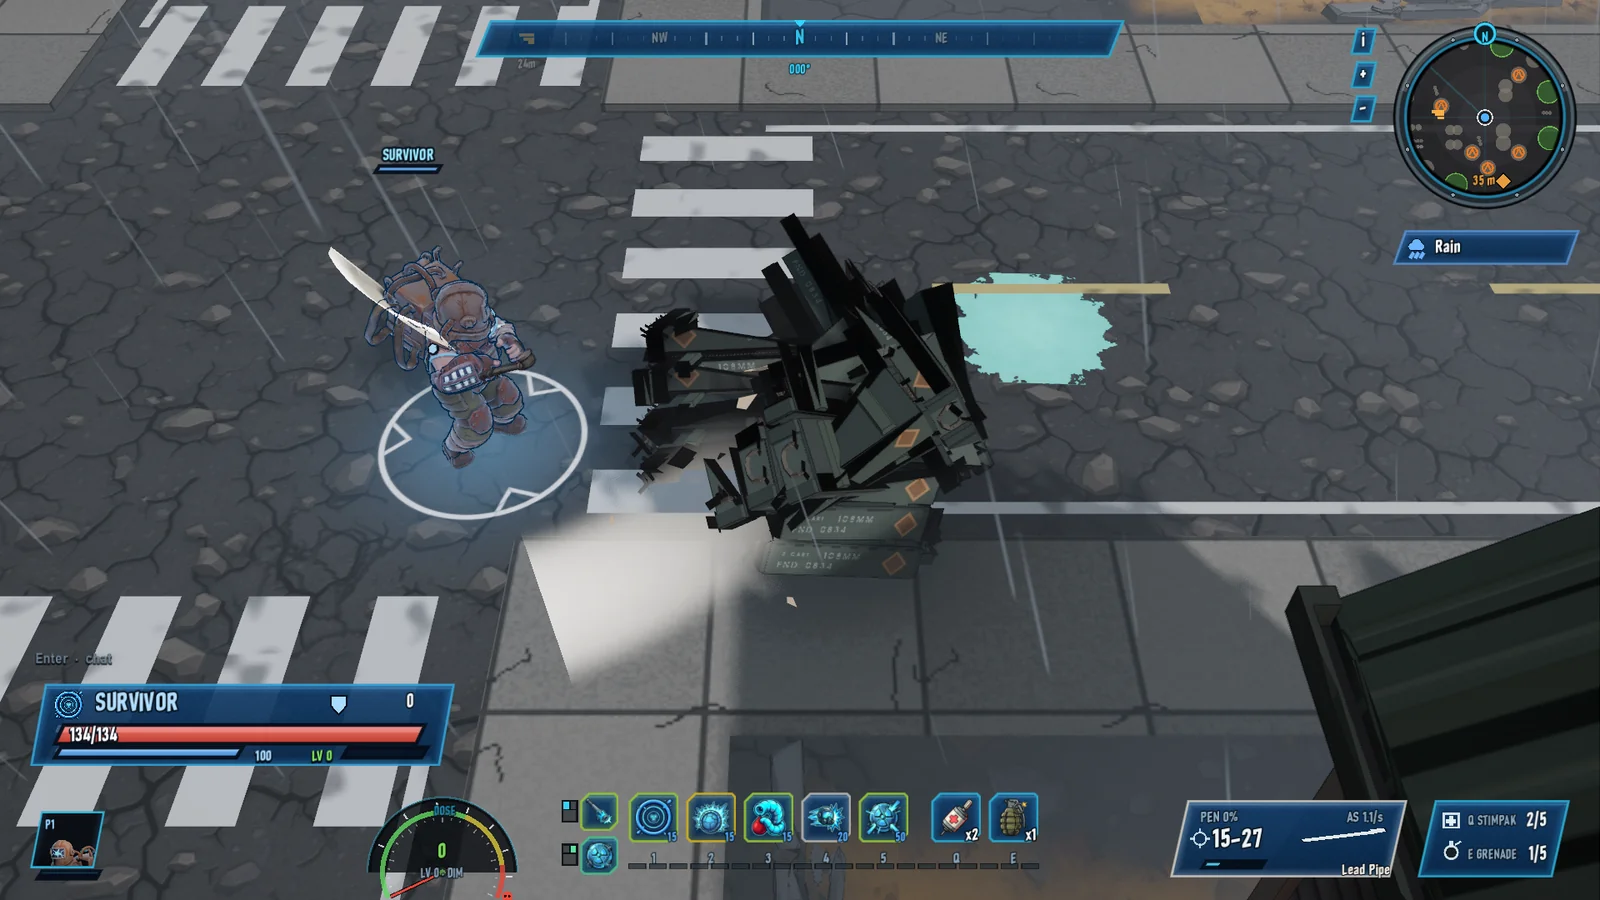
Crates are the other source. Smash a wooden one and there's a decent chance of a few caps, which go straight into your stash, plus the odd stimpak, grenade or molotov and now and then a piece of gear. Back at the stash you can sell junk to the trader or salvage it into scrap.
Reading the map and deciding when to leave
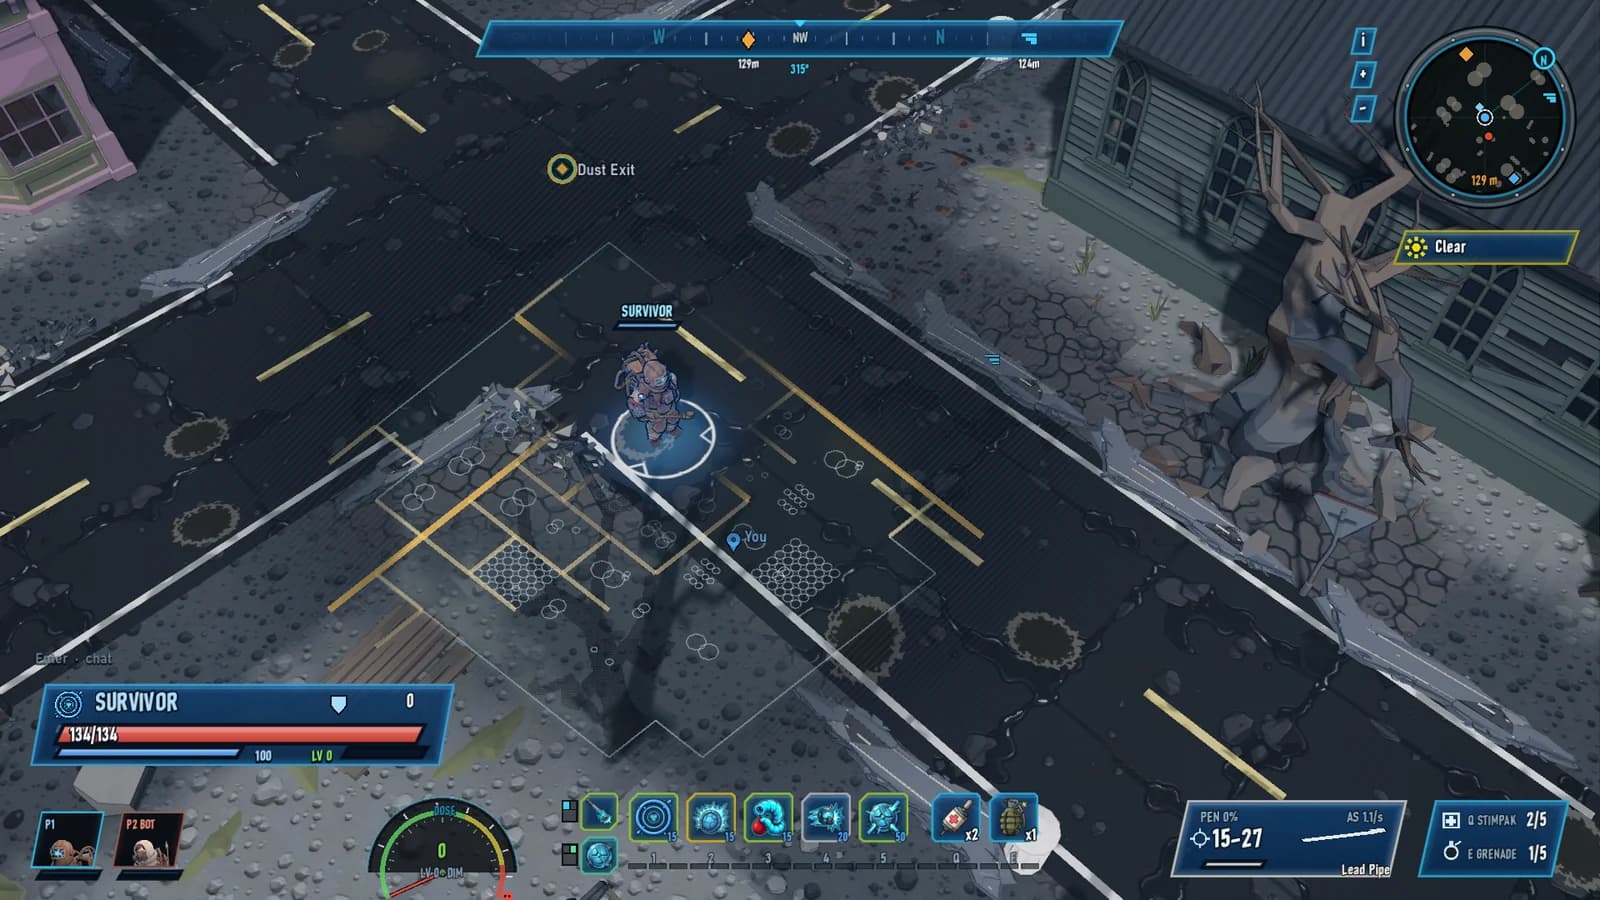
Press M and you get the full map: regions, roads, extraction points and the storm, with anything you haven't explored still under fog. Out in the world you'll find settlements, monster camps, supply caches, landmarks, lairs with named mini-bosses, stairs down into dungeons, and secret stashes that stay hidden until you stumble onto one. The compass along the top of the screen marks what's nearby and how far away it is.
All of this feeds the one question every run comes down to: do we leave now? A pretty normal moment goes like this. You're at 80% of what your body can take, the beacon is two screens away, and a Glow Eater just showed up to drain the dose you've spent the run building. There's an untouched lair to the east and someone in chat swears it dropped a Legendary last time. Every extra fight means more dose and more loot, and more of both to lose if it goes wrong.
We don't think there's a right answer. Some crews light the flare the moment they reach a beacon. Others push until someone is glowing like a streetlight and then run for it. Both get out sometimes.
If you want to talk extraction strategy, or tell us about the time you lost a Legendary five metres from the beacon, come find us on Discord. For more on the run itself, read about how the four classes work together or how mutations change your survivor.
- #extraction
- #loot
- #co-op
- #stash